1. Login to Azure Portal.
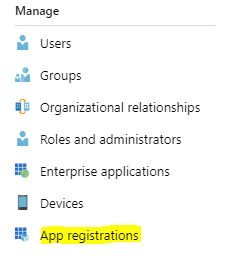
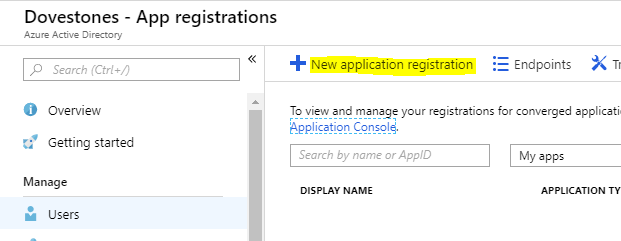
2. Go to Azure Active Directory from left side menu and click on App Registrations and then click on New Application Registration.
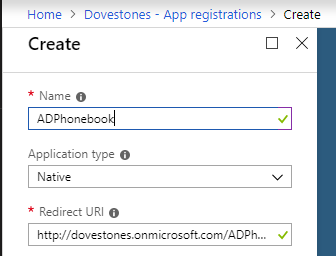
3. Enter the following information:
a. Name
b. Application type: Native
c. Redirect URL: http://[yourazuretenantname].onmicrosoft.com/ADPhonebook
4. Once created, it will open the Application blade, click on Settings
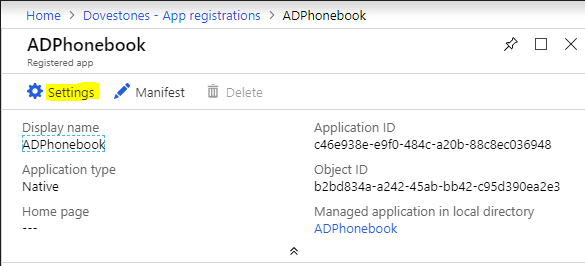
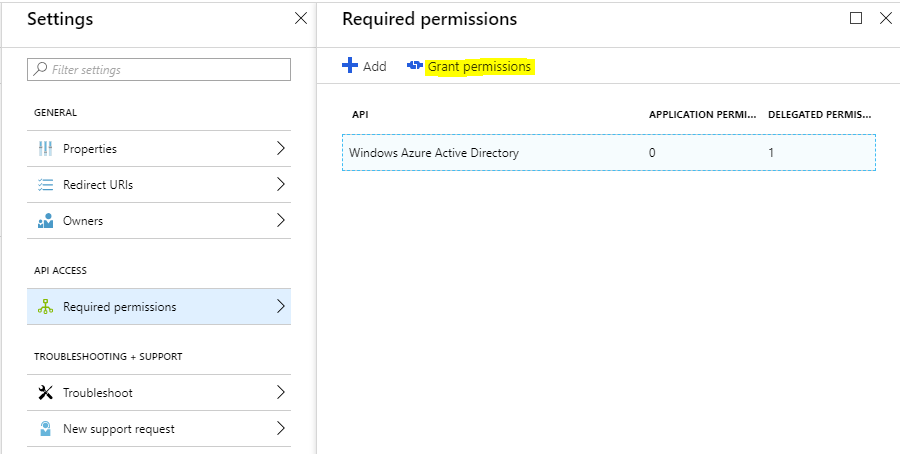
then click on Required Permissions -> Select Windows Azure Active Directory

5. On the Eable Access tab, select the three permissions listed below under DELEGATED PERMISSIONS
a. Access the directory as the signed-in user
b. Read all users’ basic profiles
c. Sign in and read user profile

6. Click on Add -> Select an API -> select Microsoft Graph, once selected, click OK

7. Click on Select Permissions option and under DELEGATED PERMISSIONS select the four permissions listed below.
a. Sign in and read user profile
b. Read all users’ basic profiles
c. Read all users’ full profiles
d. Read directory data
8. Once permissions are set, then click on Grant permissions from Required permissions blade
9. Now go to App blade and copy Application ID, the Application ID can now be used as the Client ID in ADPhonebook

That’s it.
